Most people don’t start freelancing for one simple reason: they don’t have a website. Not because they lack skills, and not because there aren’t clients, but because they feel like they need something “ready” before they can begin. They tell themselves they’ll start once they have a portfolio, or once their website is live. And then weeks pass, nothing gets shipped, and freelancing stays an idea instead of becoming real.
Here’s what most people miss: you already have everything you need to get started. It’s sitting in your LinkedIn profile.
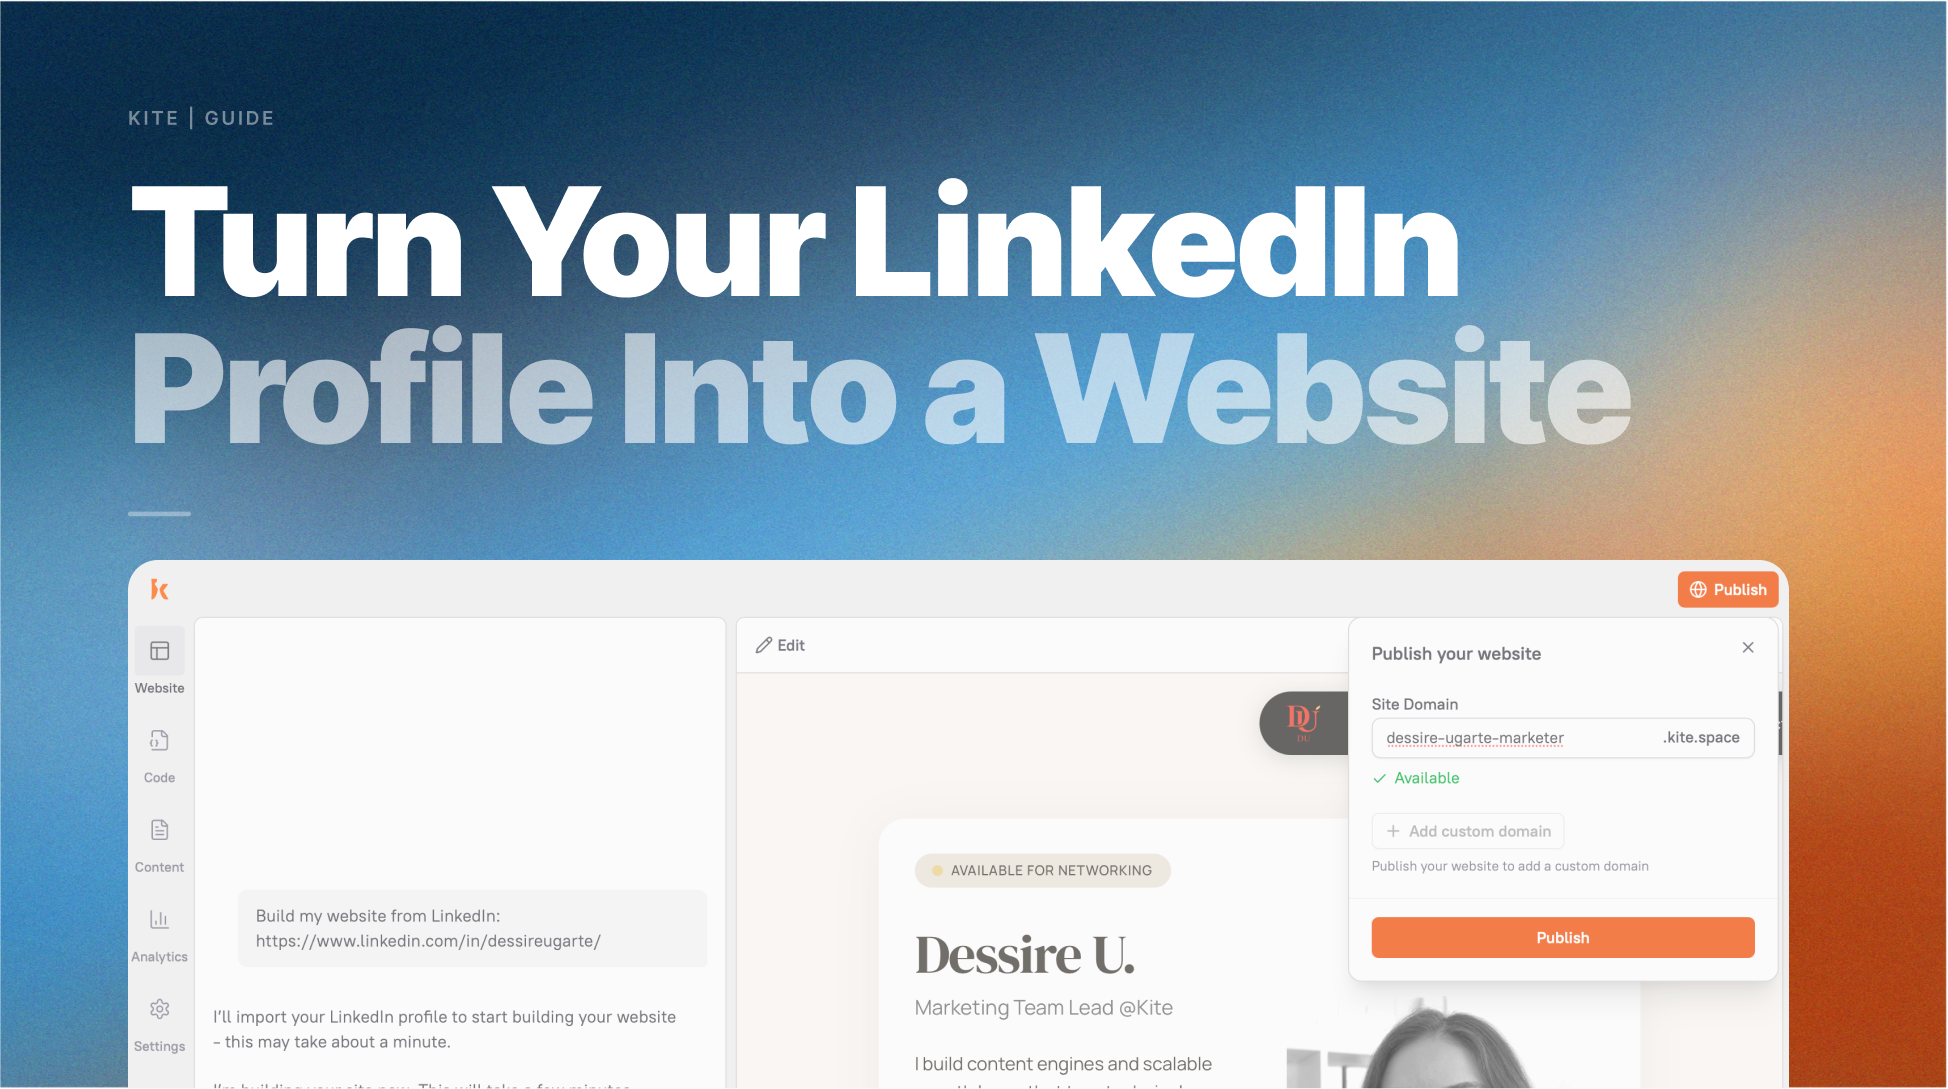
Why your LinkedIn Profile Is Enough to Start Freelancing
Think about what a client actually needs to see before they decide to hire a freelancer. They want to know what you do and who you help. They want proof you’ve done it before. They want to see the kinds of companies or projects you’ve been involved with. And they need a way to contact you.
Your LinkedIn profile answers all of that, it just doesn’t look like a website yet.
Every section maps directly to something a freelance portfolio site needs:
- Your name, headline, and photo: the hero section that’s the first thing a client sees
- Your skills: the services section that tells clients what you offer
- Your work history: the experience section that proves you’ve done this before
- The companies you’ve worked at: the “trusted by” social proof section that builds credibility instantly
- Your LinkedIn Featured section: portfolio items, case studies, work samples
In other words, you’re not starting from scratch, you’re just changing the format. The only difference between what you have and a freelance website is the presentation. LinkedIn formats everything as a social profile inside a platform. Kite takes the same information and presents it as a clean, standalone site with your own URL, the kind you’d be proud to put in an email signature or a cold outreach message.
How to Turn Your LinkedIn Profile Into a Freelance Website
Step 1: Make sure your LinkedIn profile is set to public
Before you start, make sure your LinkedIn profile is public, Kite needs access to generate your site.
This takes about 30 seconds:
- Go to your LinkedIn profile
- Click “Edit public profile & URL” in the top right
- Under “Edit Visibility,” make sure “Your profile’s public visibility” is toggled On
- Confirm that Photo, Headline, About, Experience, and Skills are all set to visible
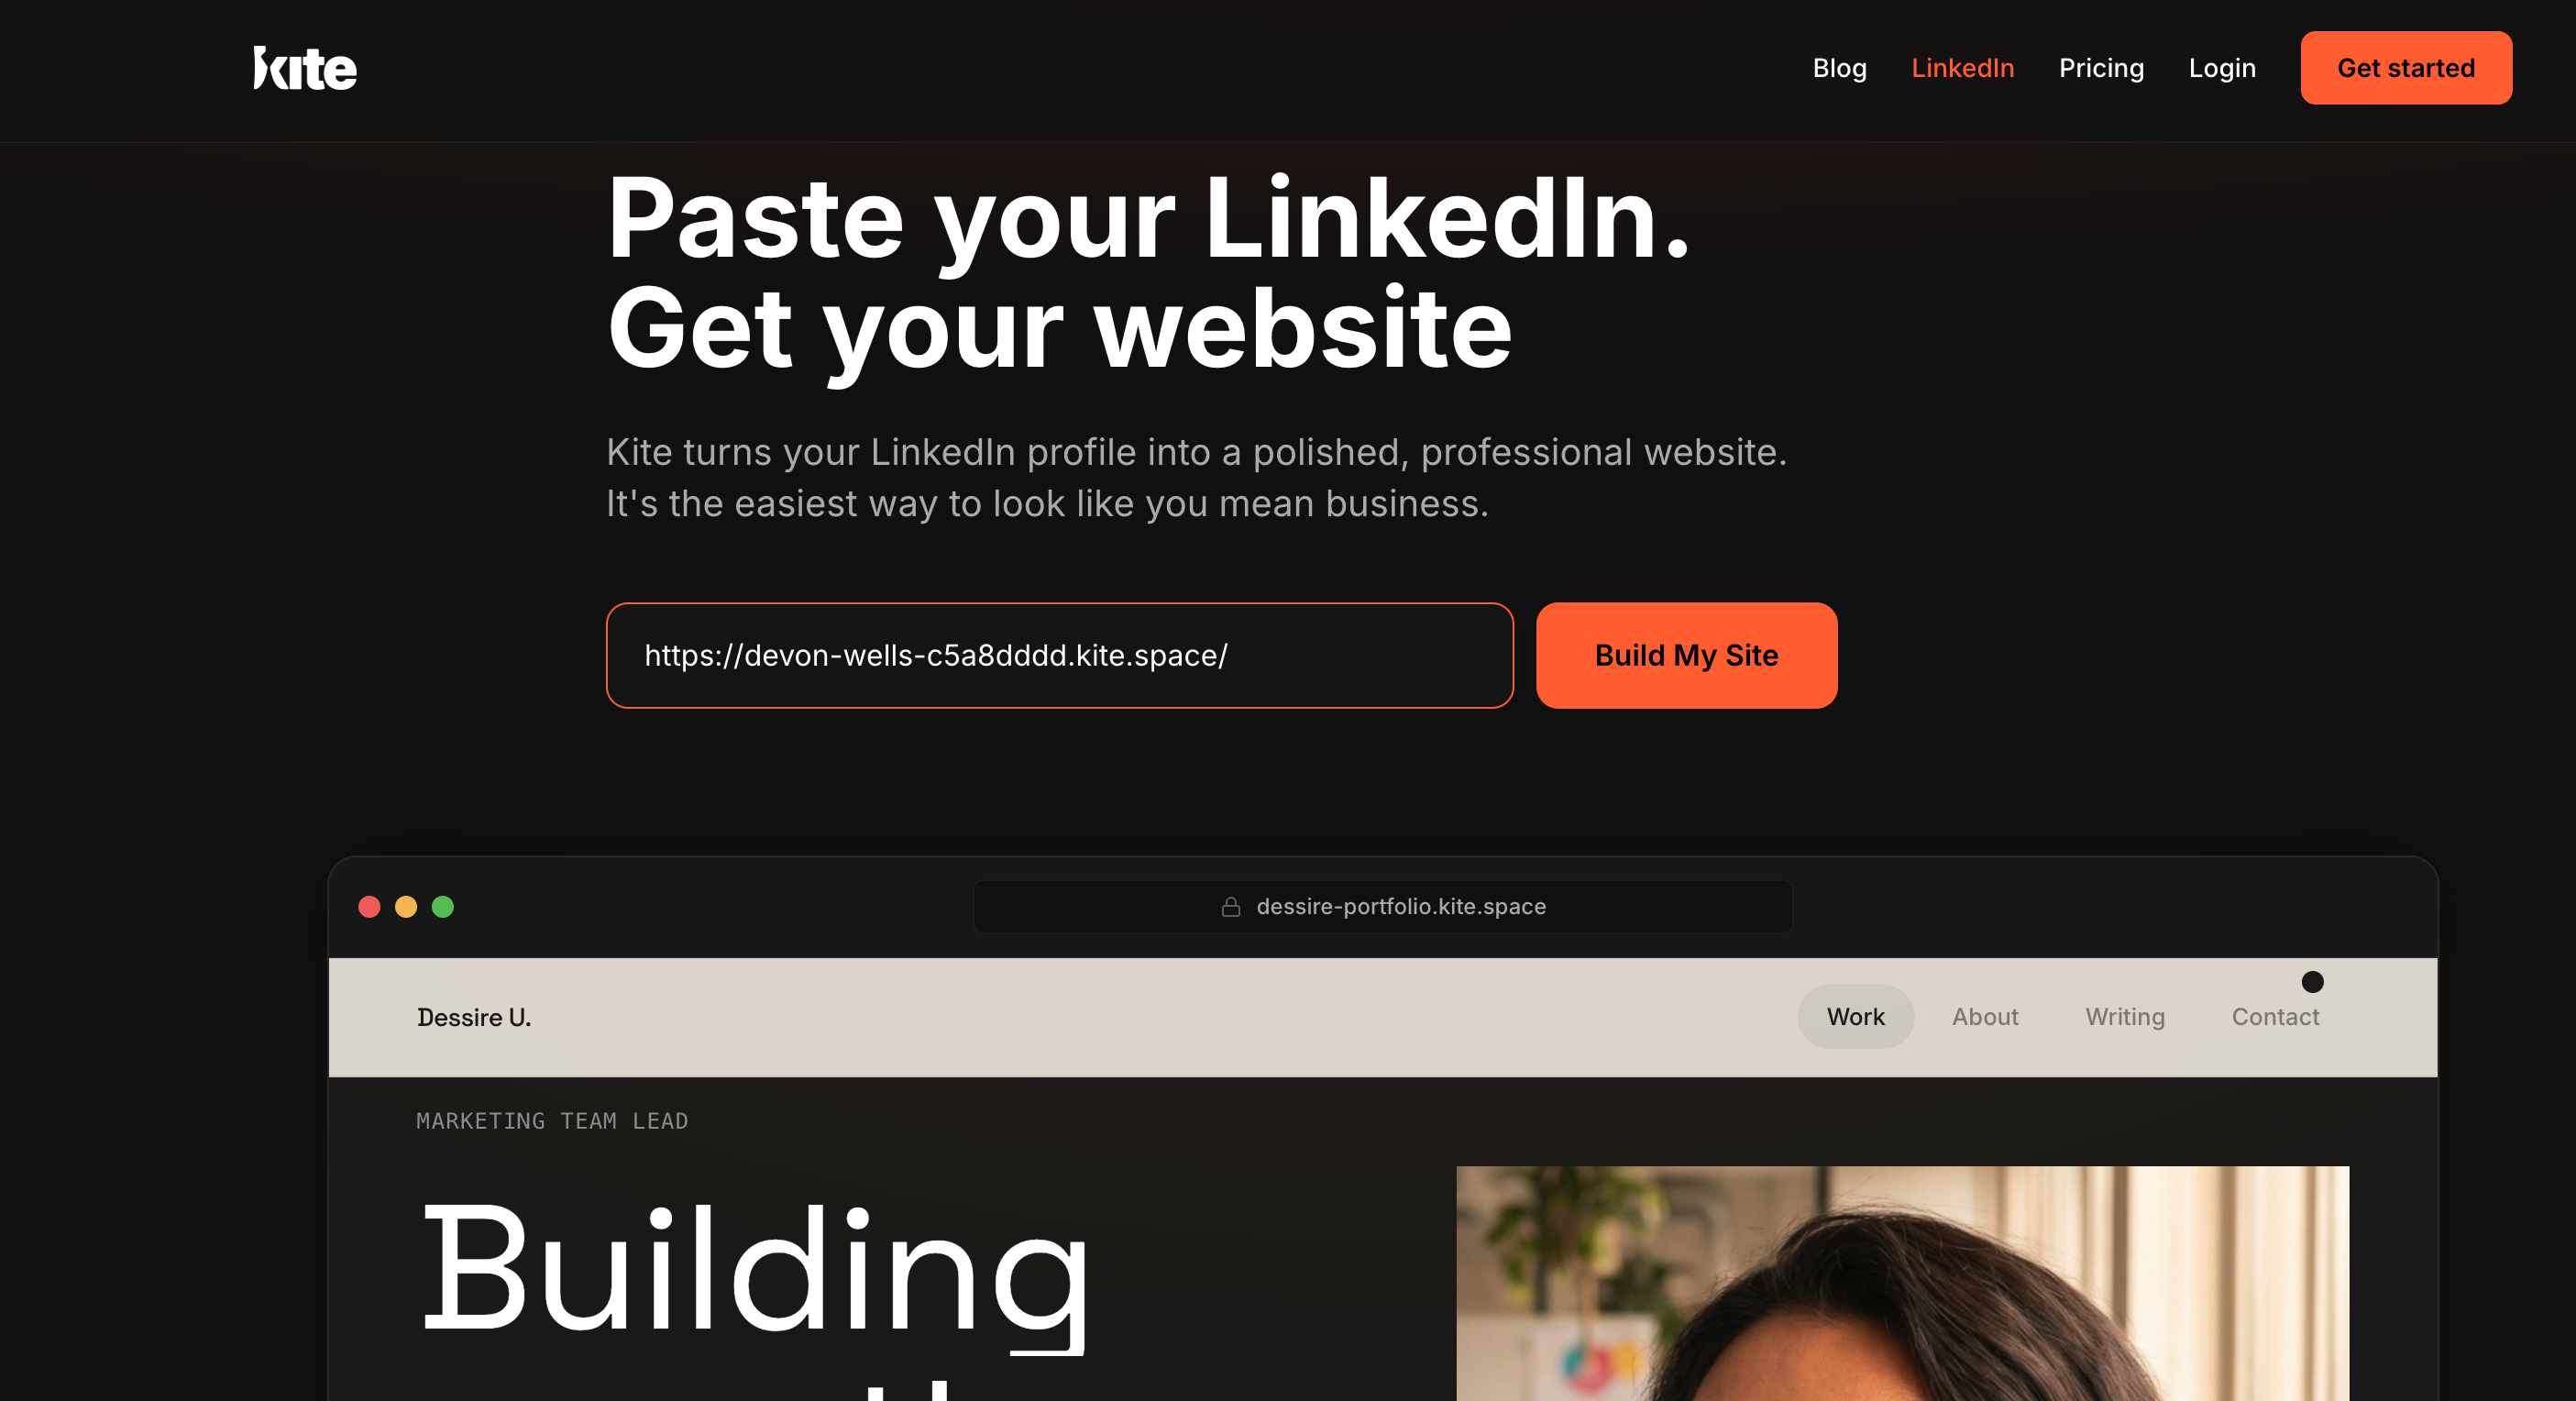
Step 2: Paste your LinkedIn URL into Kite
Go to kite.ai/linkedin and paste your LinkedIn public profile URL when prompted. In minutes, Kite reads your profile and generates three fully designed website options, each built from your existing experience and content.
Step 3: Choose from three complete website designs
Kite generates three distinct website designs, each with a different visual style, layout, and feel. Every one of them already has your real information in place.
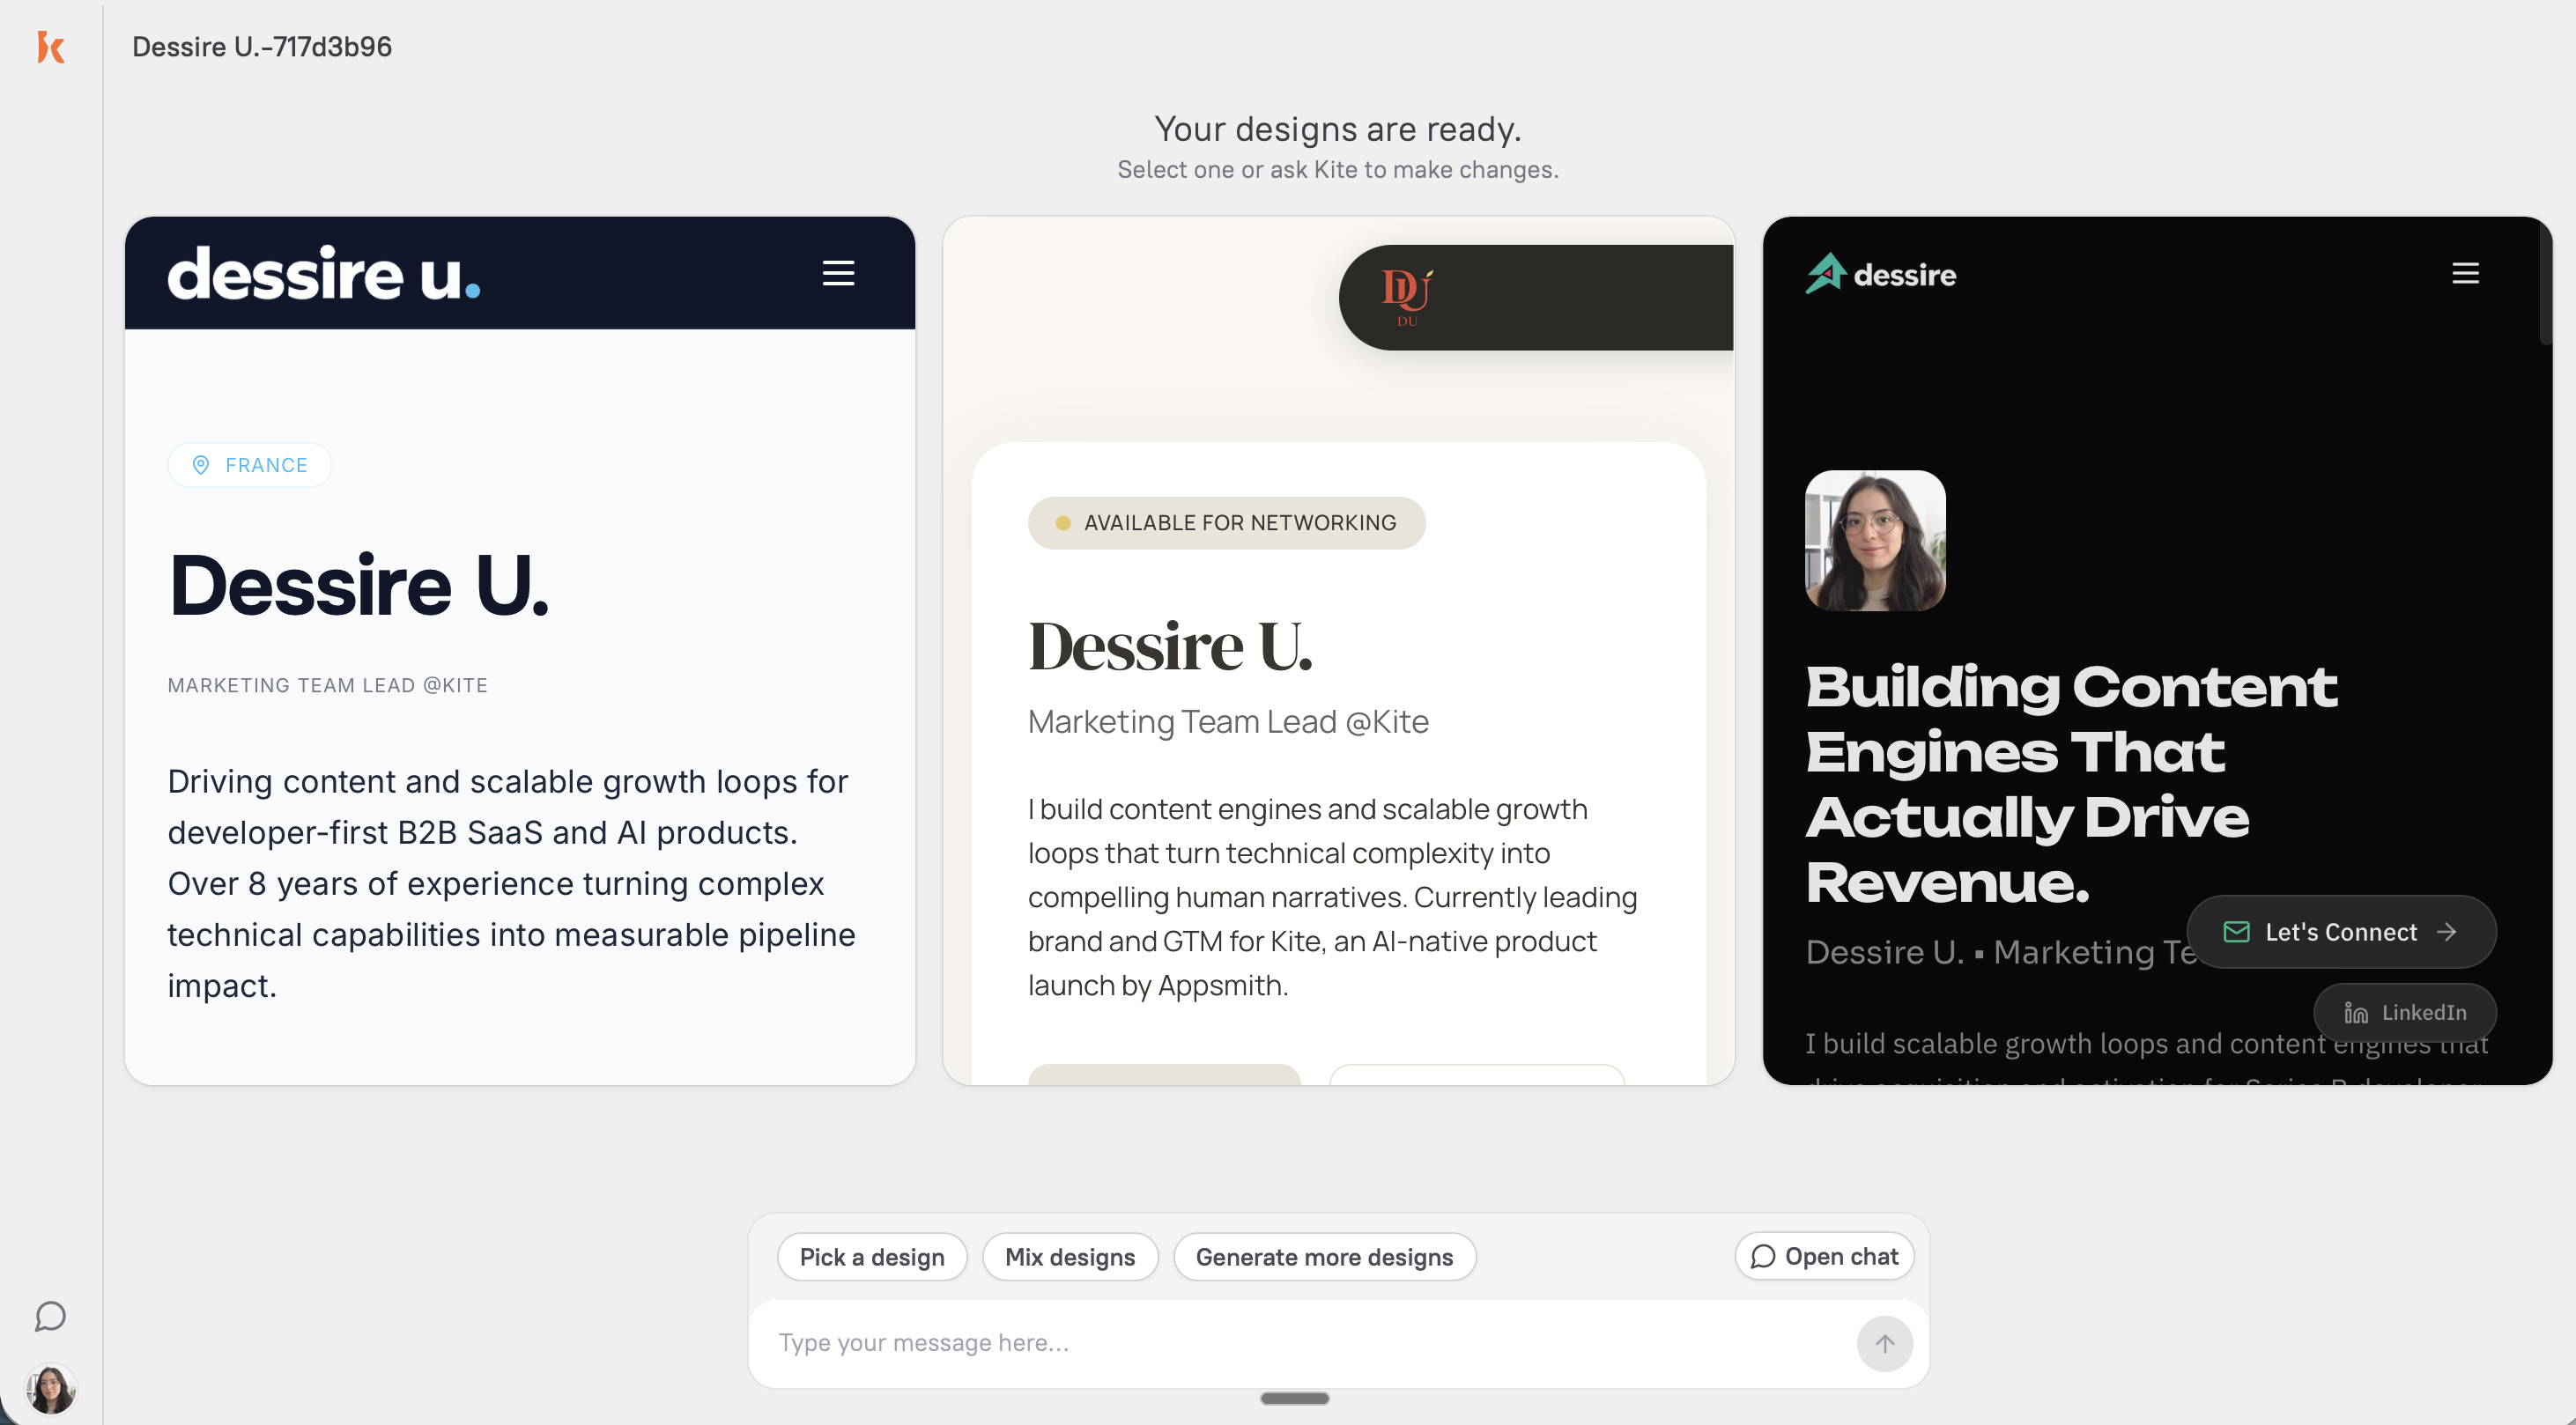
If none of them feel quite right, that is completely fine. At the bottom of the generation page, you will see a prompt box where you can ask Kite to adjust the design or even take it in a completely different direction.
You can be as specific or as broad as you want, from “make this more minimal with darker colors” to “try a completely different layout for a more corporate audience.” You can also point out what you like or do not like in each version, whether that is the colors, structure, or overall feel. Think of it as collaborating with Kite until it matches what you had in mind.
A few things to consider:
- Match your work type. Visual creatives benefit from image-forward layouts; writers and consultants often convert better with text-forward designs.
- Consider your target client.Go with the layout that looks like what your ideal client would expect from someone they’re about to hire.
- Trust your gut. Which one would you send to a client right now without apologizing for it?
Step 4: Refine your site by chatting with Kite
Once you select your design, you can change anything you dislike through conversation, the same way you’d message a colleague or chat with Claude. Just say what you want:
- “Make the headline shorter and more direct”
- “Add a section for my freelance rates”
- “Change the color scheme to something darker and more minimal”
- “Rewrite the services section to focus on B2B clients”
- “Add a contact form that asks for name, email, and a brief project description”
- “The About section is too formal — make it more conversational”
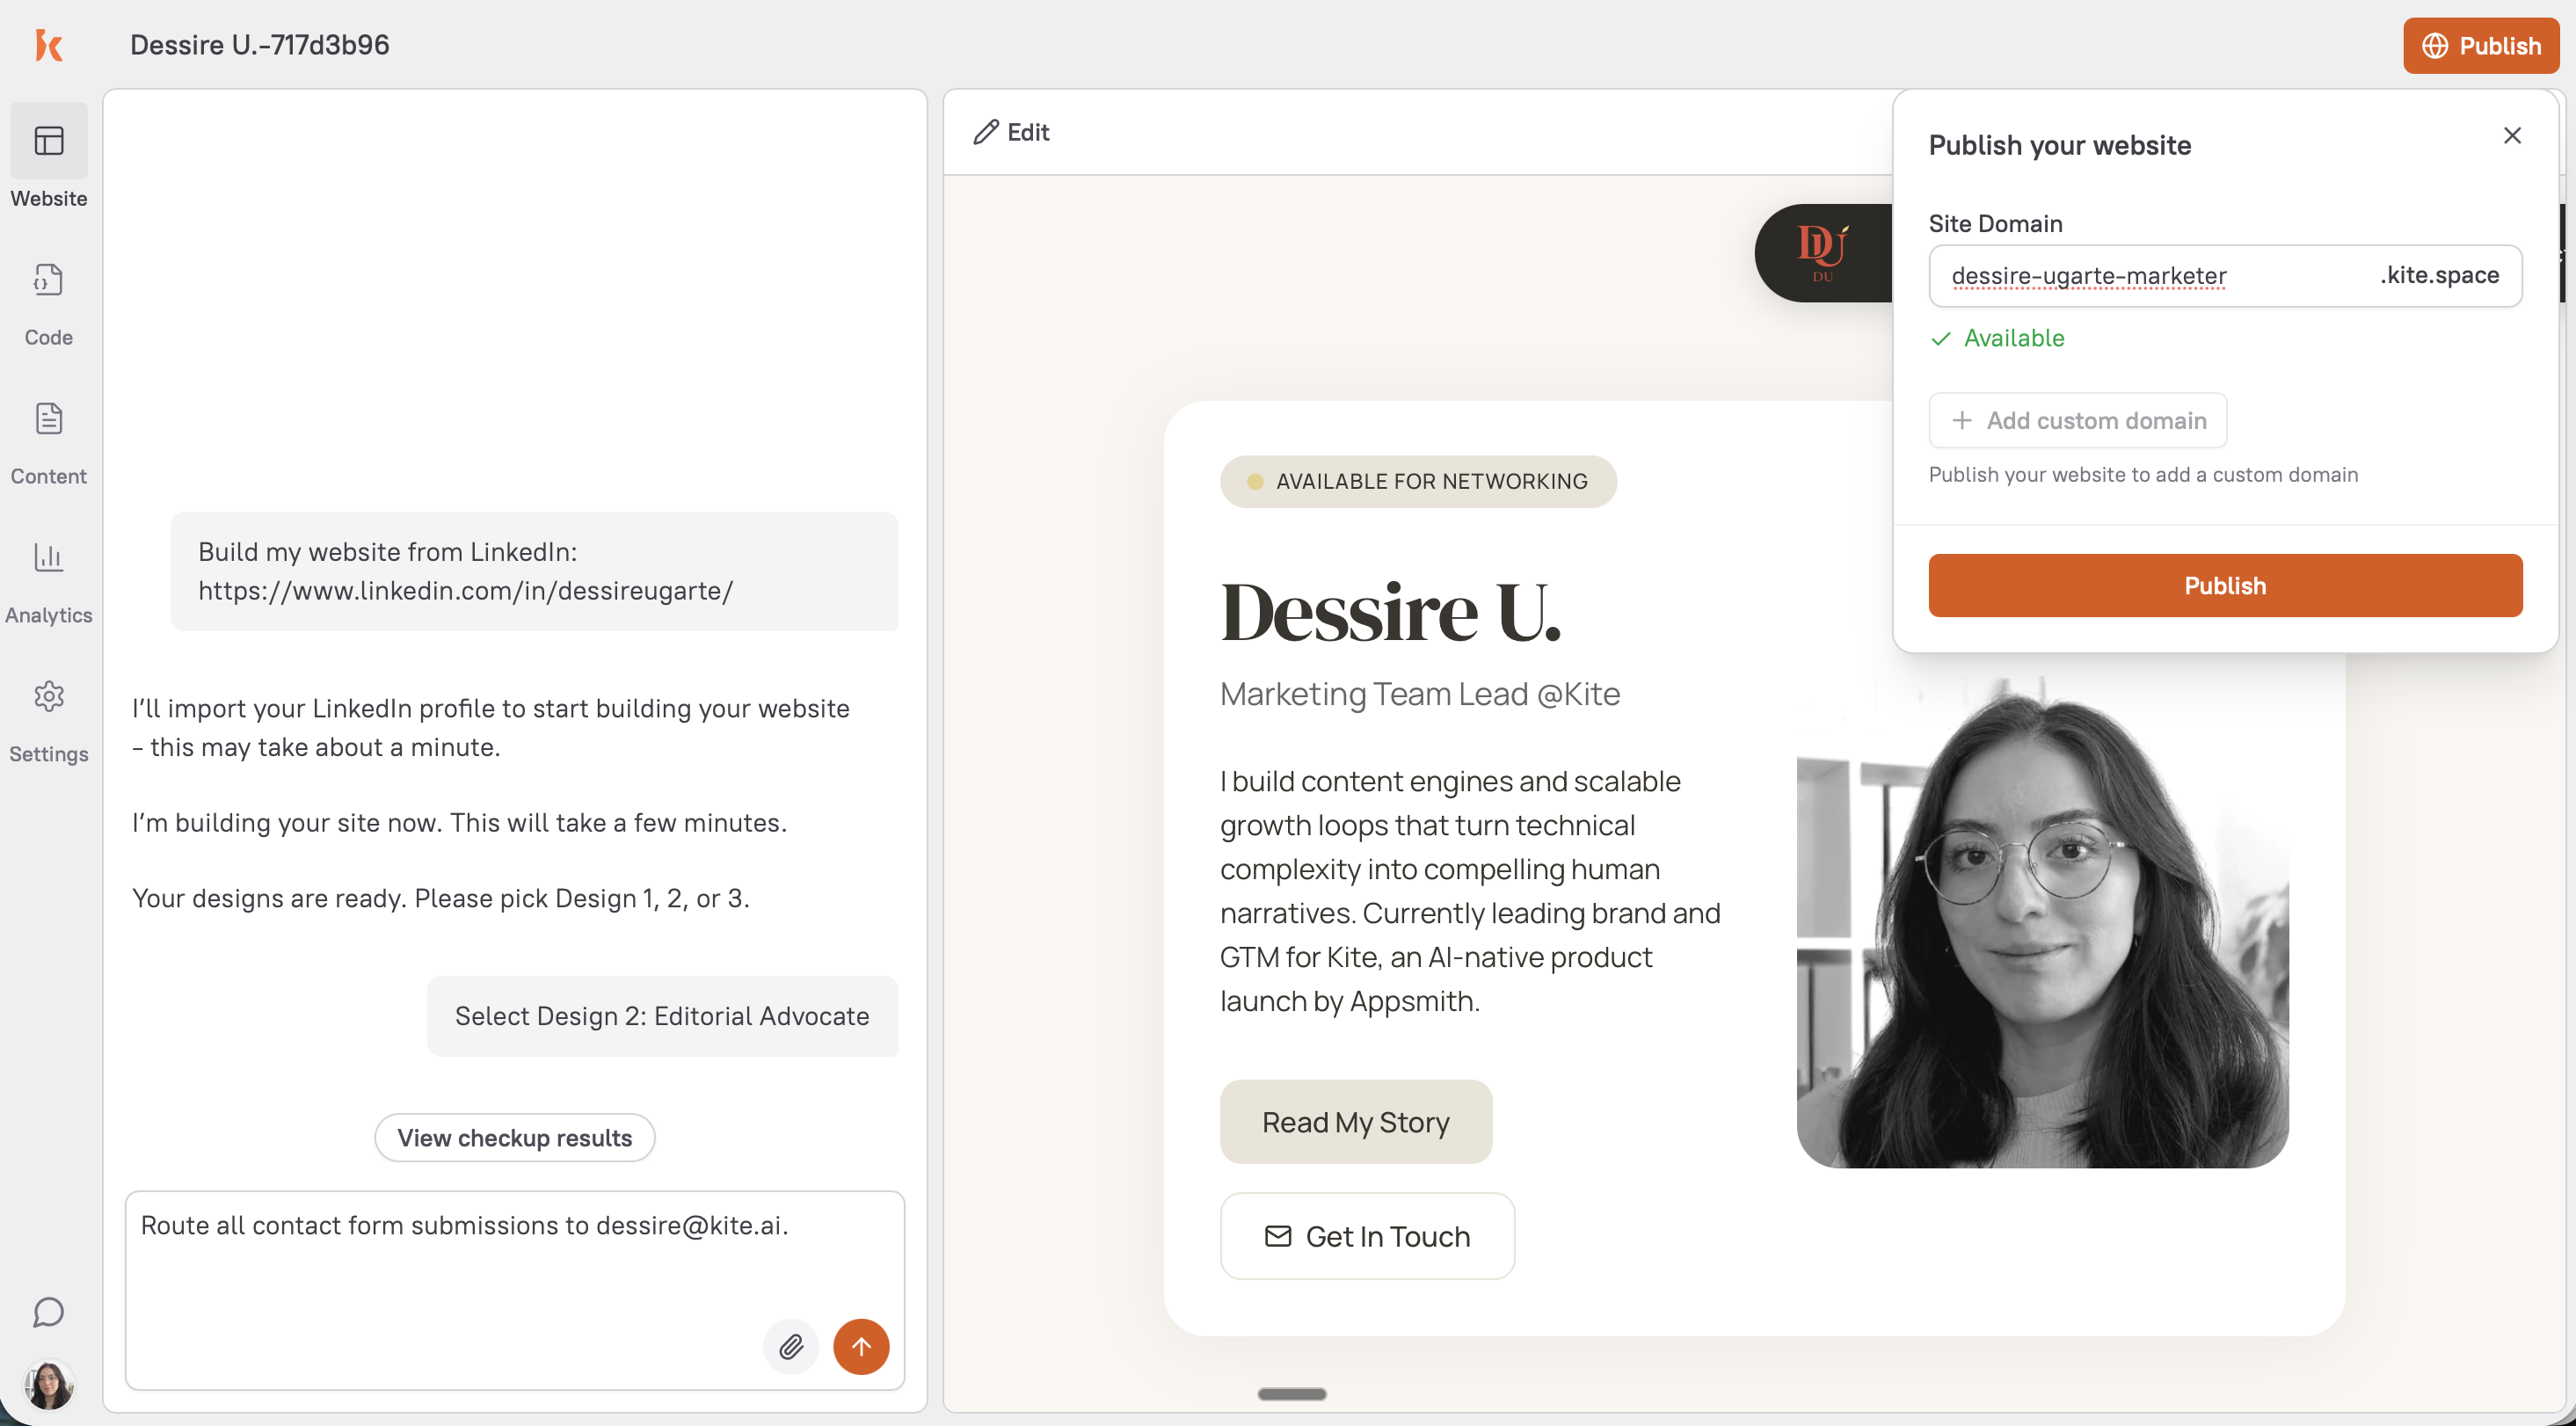
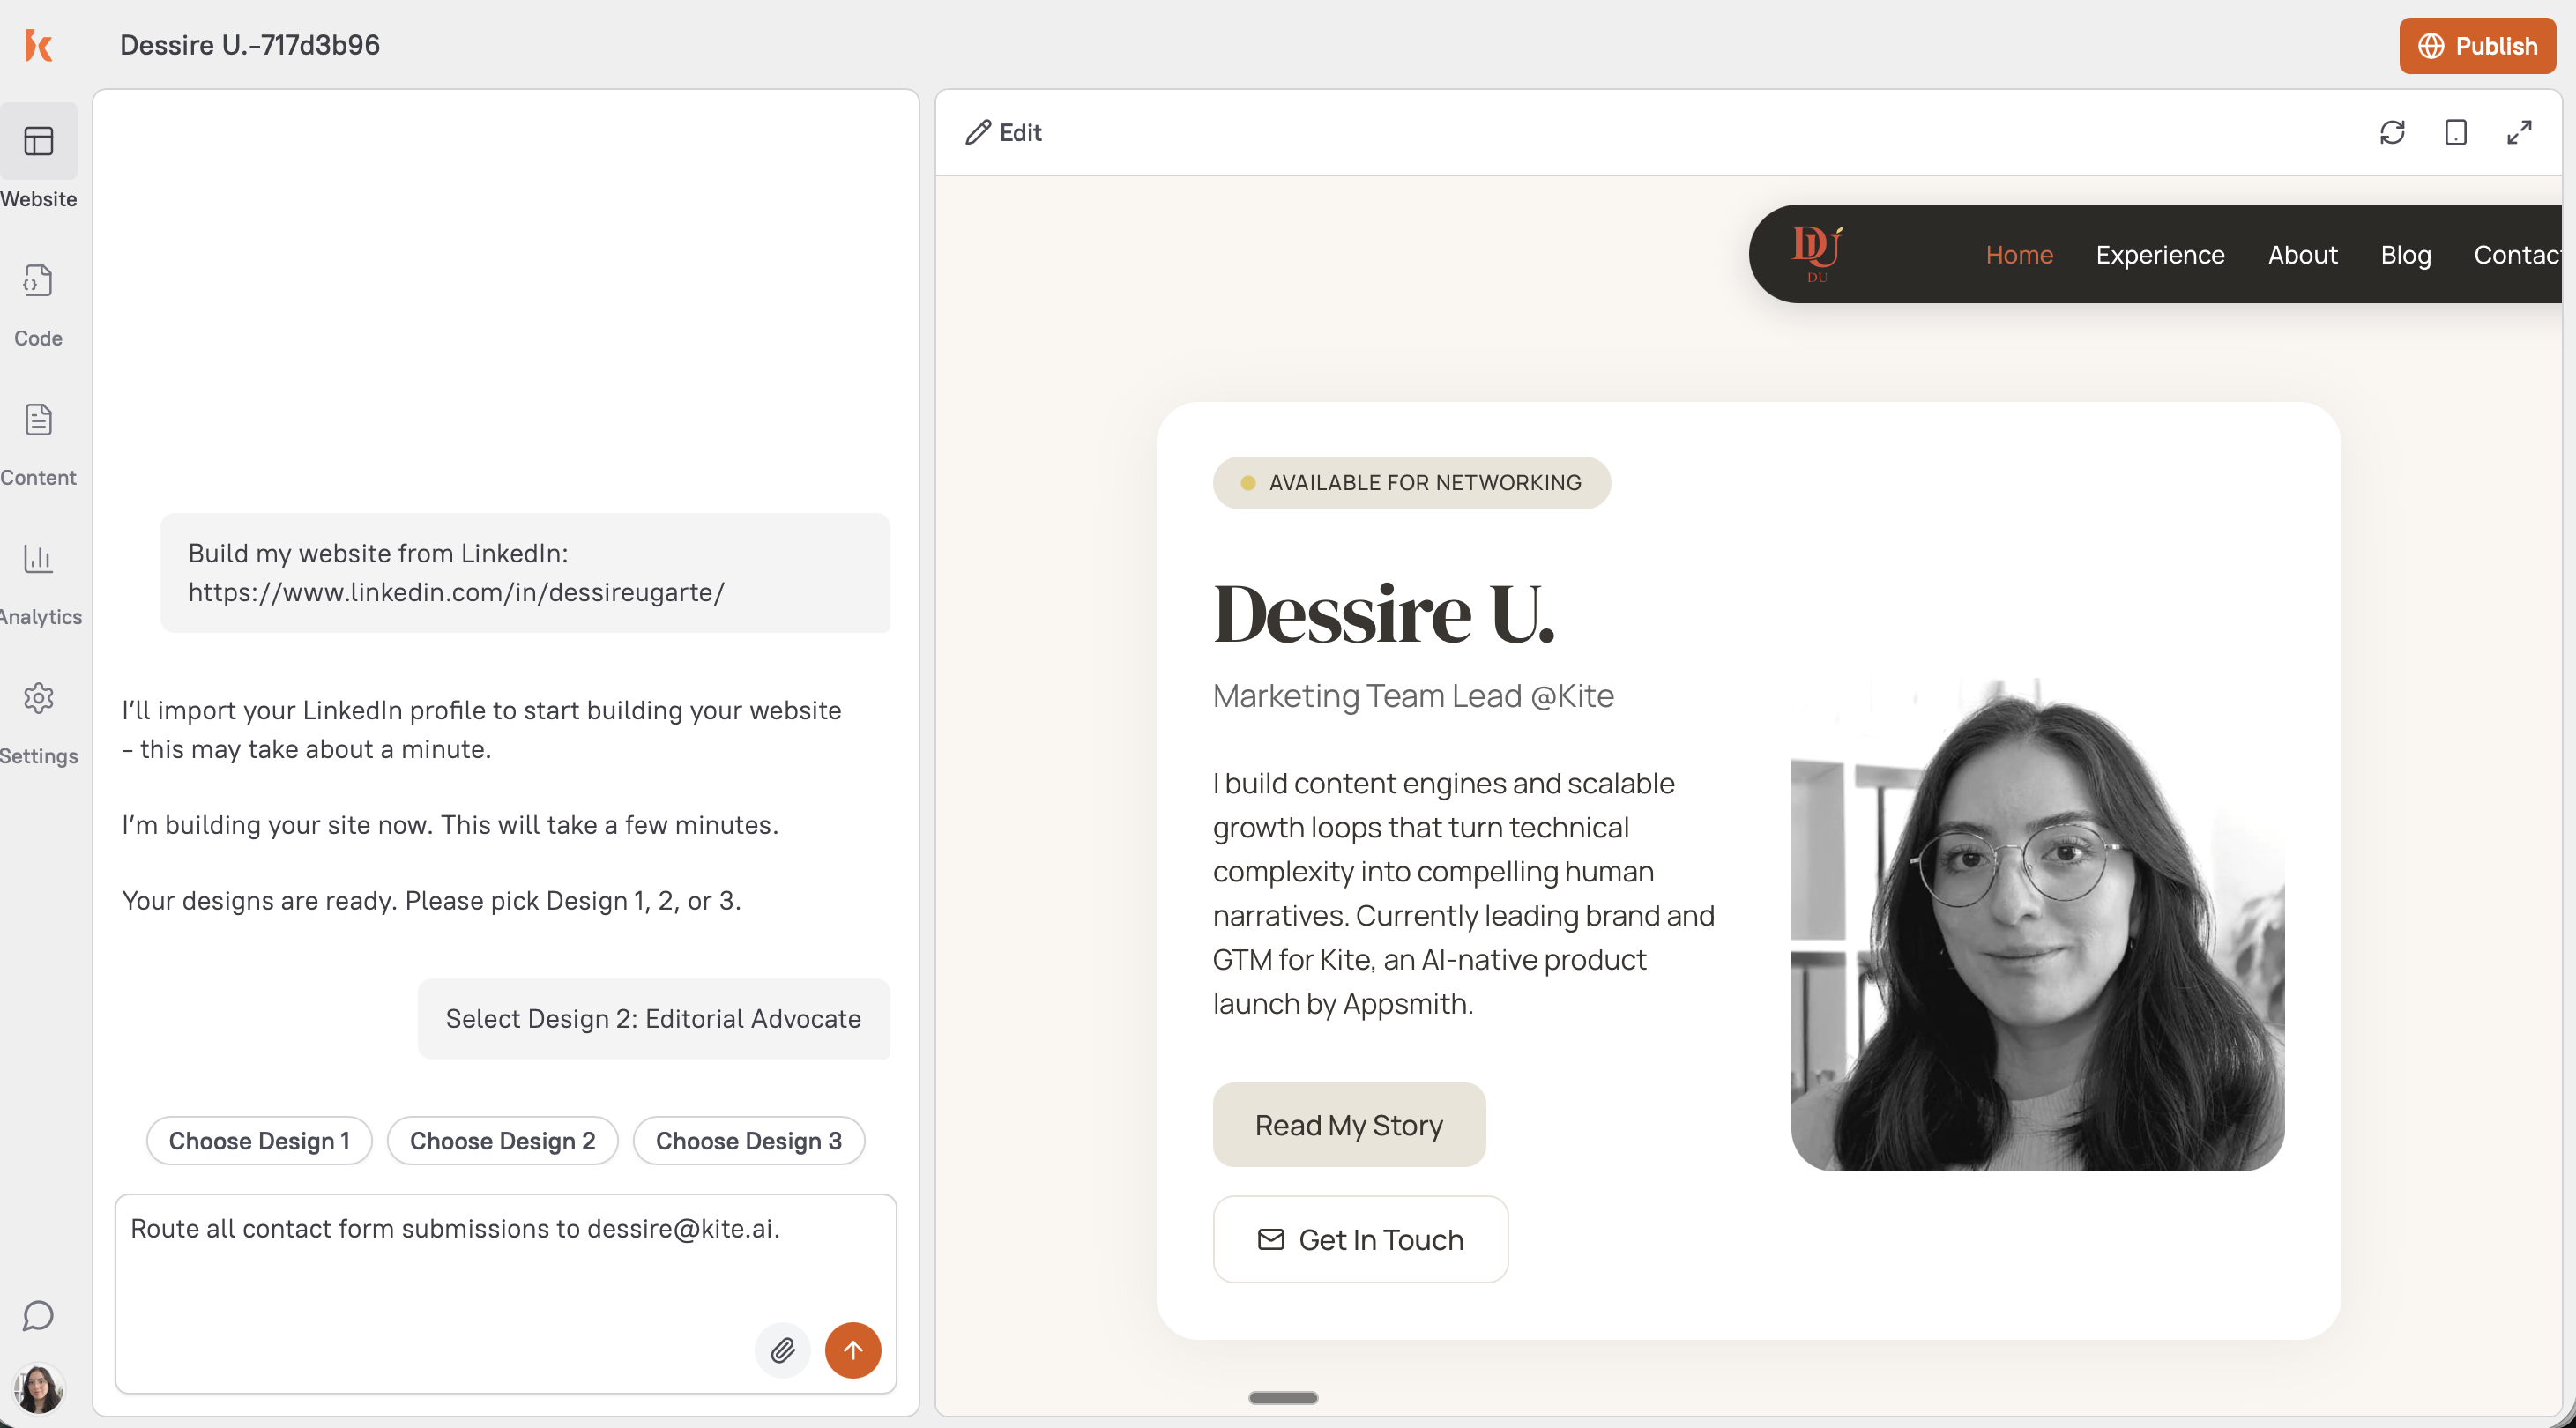 Telling Kite to route all contact form submissions directly to dessire@kite.ai so every inquiry lands exactly where it should.
Three things worth prioritizing:
- Headline: make sure it says what you do and who you help, not just your job title. “UX designer for early-stage SaaS startups” converts better than “Senior UX Designer.”
- Services section:refine from a broad skills list into 3–4 specific services with a sentence each.
- Contact path: make sure a client who wants to hire you knows exactly what to do next.
Step 5: Publish, and choose your domain
Hit publish and get a live URL immediately.
Kite domain: A clean, shareable URL on a Kite subdomain, ready to use in outreach and proposals from day one.
Custom domain:When you’re ready, connect your own domain (e.g. yourname.com) in a few clicks. Your site stays exactly as designed, just at your own address.
Do these three things the moment your site goes live:
- Add your new URL to the website field on your LinkedIn profile
- Add it to your email signature
- Post on LinkedIn that you’re now available for freelance work, link to your site, two sentences on what you offer and who you want to work with (You can also ask Kite to write the post for you 🤘)
From Published to Paid: What to Do Next
Once your site is live, you can keep polishing it, but you can also start outreach to your network or to people you see as potential customers.
Start with warm outreach. Go through your LinkedIn connections and identify 10 people who work at companies that could use your skill. Send each one a short note: one sentence on what you’re now offering, one sentence connecting it to something relevant about them or their company, and your site link. Your site does the selling, by the time a potential client finishes reading it, they already know what you do, who you’ve worked with, and what working with you would look like.
The LinkedIn announcement post compounds this. Every comment and reaction extends the post’s reach to people who don’t know you yet, but who now know a freelancer with your skill set is available.
None of this requires a perfect website. It requires a live one. And you have that now.
Frequently Asked Questions
Yes. Paste your LinkedIn public profile URL into Kite.aiand it automatically generates three complete website designs using your existing information — bio, skills, work history, the companies you've worked with, and any media or links in your Featured section. Choose the design you prefer, refine through conversation, and publish.